Come meet Pat. (Part 2)
Pat is back to share more inspiration and wisdom.
Hello Everyone.
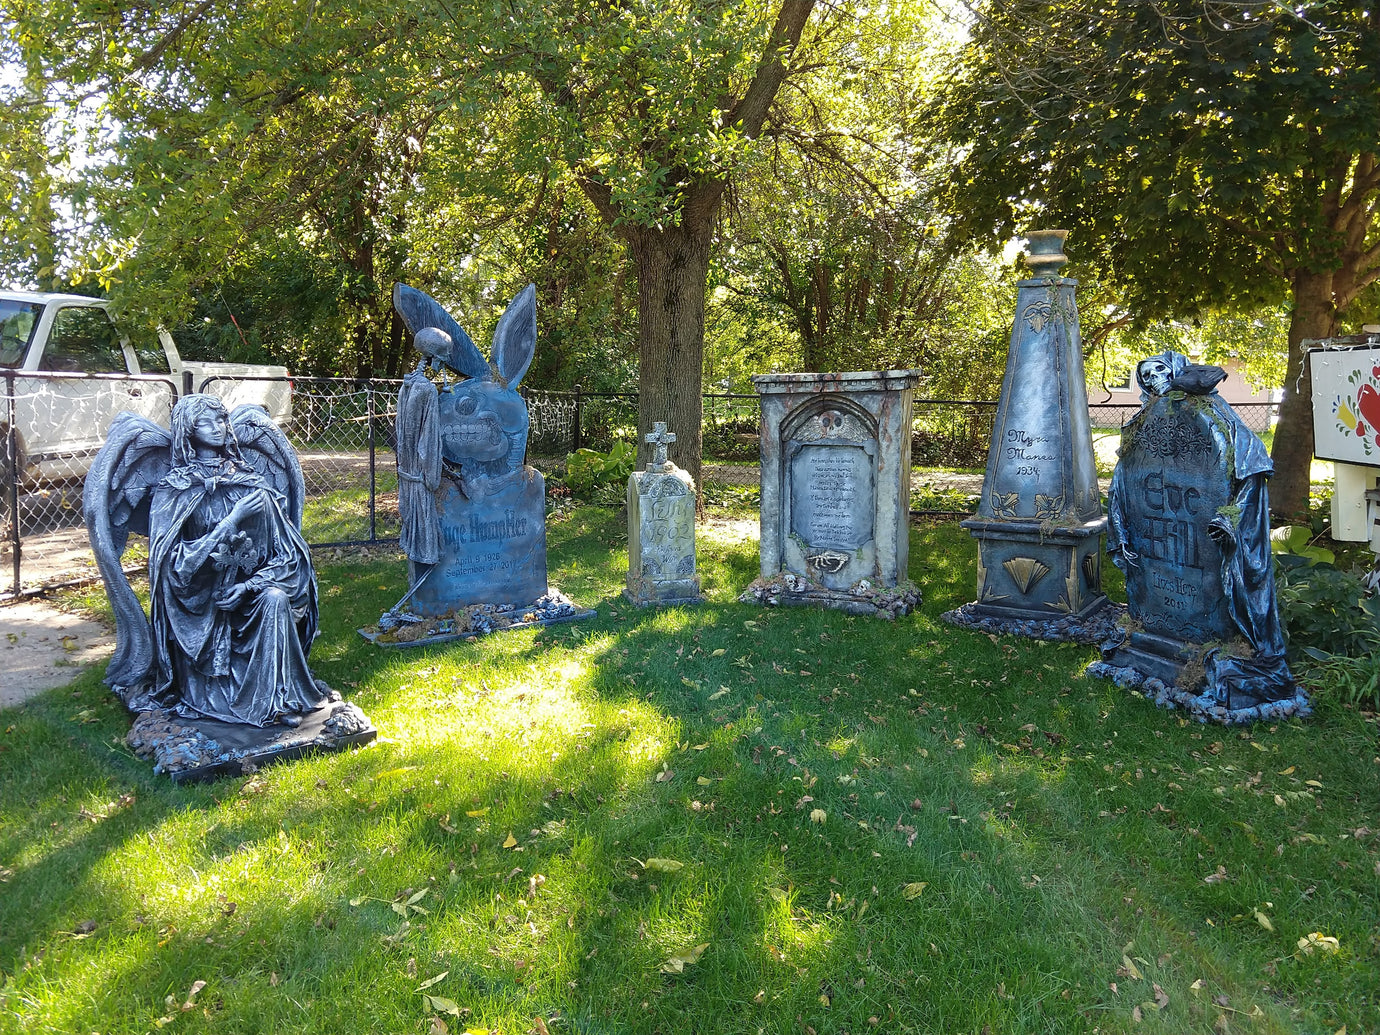
I use to live in the town just outside of the spot where they captured the younger brother's gang ( part of the Jessie James gang). I thought it was a reasonable prop idea that I created the younger brothers raising up from the ground.
Hopefully, the kiddos would ask why I have cowboys in my graveyard & they'd get a little History lesson in the process. Nowadays, cowboys aren't part of my haunt (they were a regular costume when I was a kid.) But I think local history is important. Are my cowboys impressive? Nope. They do look as much like the younger brothers as possible & I made my replica of their tombstones. 
Clearly, I don't have a specific theme & I don't care. It’s fun making the ideas I come up with, instead of following the latest haunt trend in new horror movies. Oh and I don't do gore or jump at people to scare them.
If the kids look at my display while they come to the door for a treat, I've won. Some day they'll look back and say, “I want to make stuff.” Yes sir, I believe creating Halloween stuff is the beginning of influencing our young towards arts, science & math as it does take all 3 to create.
Think about the original star trek, do you think the communication devices inspired cell phones? Maybe, maybe not, but it taught us young ones to dream & create. 
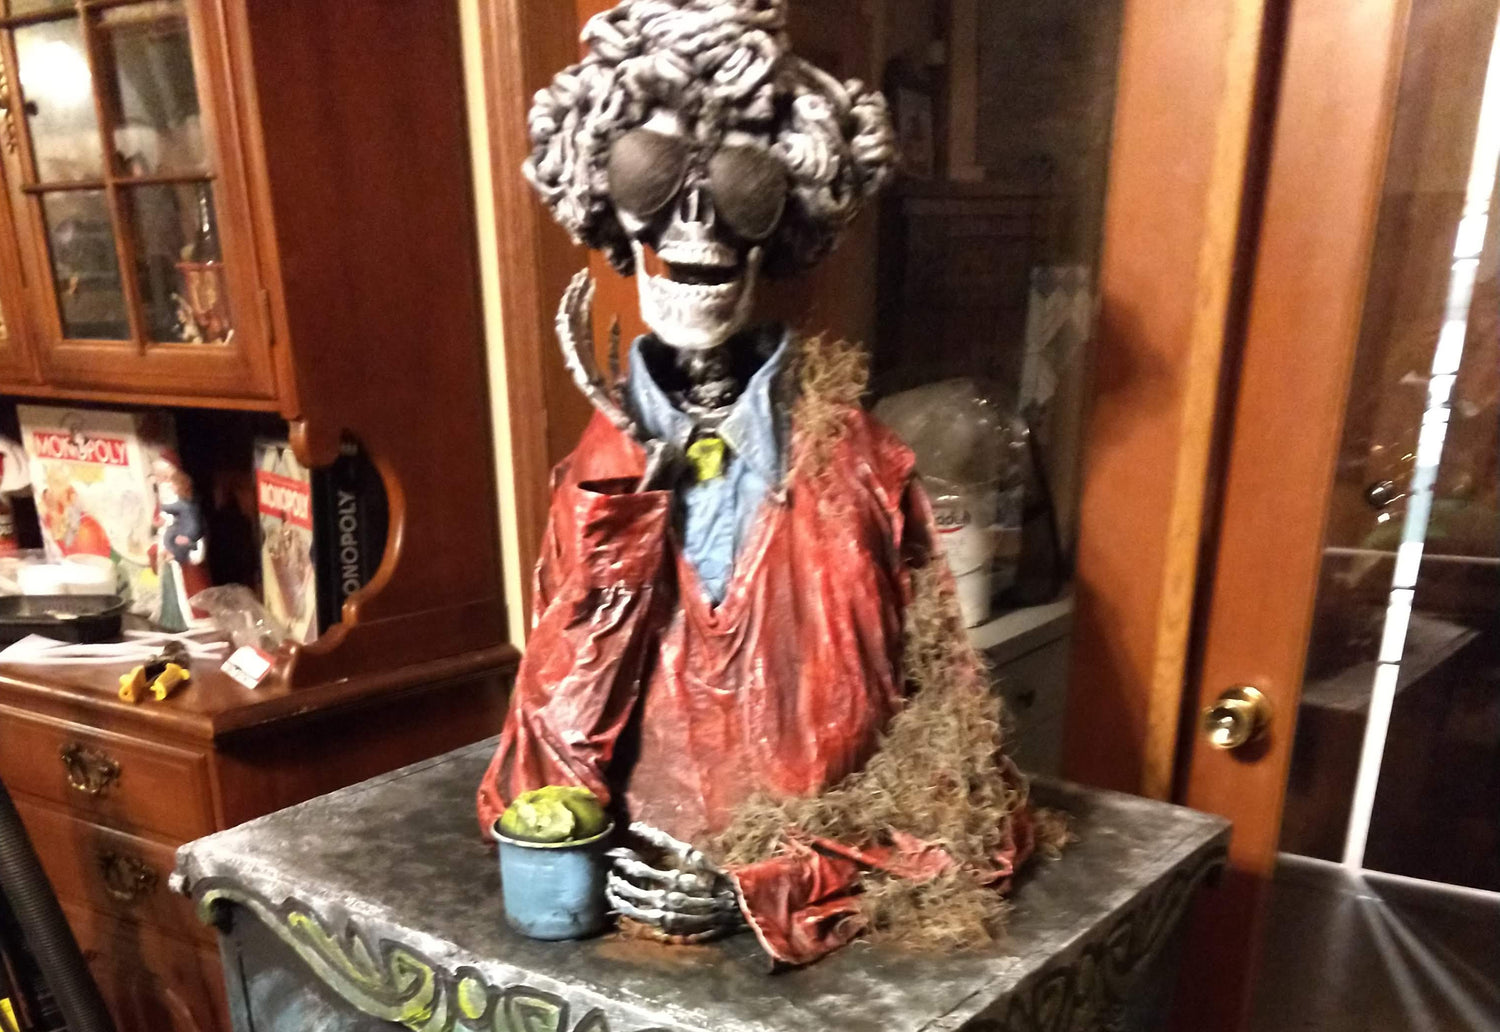
Speaking of being inspired…does my Moxie grave marker ring a bell/ remind you of anything?
She's a spoof on Hallmark's Maxine. She's also in honor of my Mom. Mom definitely had Moxie! Is it a traditional Halloween decoration, nope, but each side says something different & the adults who take their kids around will laugh. Halloween should be fun for all.
I say add tons of color, everything but everything has multiple colors in it. If you look at your skin, your flesh tone isn't just one color, it's blue, red, purple, brown, & white maybe a hint of yellow, etc. 
Here is a prop inspired by moving. I'm now creating props specifically for this new property. So I created a Halloween estate sign."Money pit & pendulum manor" seemed to be an appropriate name because I've spent more on foundation work than I paid for the house. I also included my Halloween motto on the back " live long & haunt forever”.


What I've found to work best is Loctite pl premium adhesive for the pink styrofoam, I use toothpicks & tape to hold it in place while it drys.
Wings have become my favorite challenge. I have yet to be totally pleased with how my wings turn out. I've come to the conclusion that a successful looking set of wings requires a combination of processes & materials.
In the case of my estate sign wings, I used pink foam, with low relief by melting with a soldering iron, spray foam (Loctite brand because it carves well) & paper clay. In finishing, I covered the wings with thin monster mud and used a stiff brush to imply the hairs on each feather.
I always paint my props completely black and then dry brush multiple colors, each lighter than the previous. I brush on exterior polyurethane as my sealing coat.

My grim reaper mud monsters are among some of the 1st props I made. It was about learning the skill set. FYI, the wings are paper towels over the framework & painted with mold-making compound. They are flexible still. They were made on or before 2008.
The witches & Frankenstein's monster are easy projects, just pvc pipe armature, thrift store clothing, wigs, and masks I already owned, on a styrofoam wig head. Eyes are doll eyes. Hands are mannequin hands or costume hands stuffed.
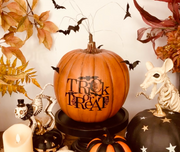
Pumpkins, pumpkins & more pumpkins…
Can you ever have enough pumpkins in Halloween?
I really hate making stuff the old-fashioned way of paper mache...dip strips of paper in a bowl of homemade paste, and yuck what a mess. I'm someone who's always wearing what I'm doing. If I'm drinking hot cocoa, I've dripped it down my shirt or eating a mac D's burger, yup, you guessed it, I get ketchup on my shirt.
Through YouTube & paper mache artists I learned the tip to paint brush on my paste to the surface, then place the dry paper in the spot & paint paste over it. Still messy but not nearly as bad. I also got better recipes for paper mache paste and paper clay through YouTube. (Ultimate Paper Mache or Unhinged Productions.
Enough ranting about messy paper mache.
The point here is don't limit your scope of the process.
Some of the pumpkins are made using a bag filled with plastic bags, taped to shape, & paper mache than paper clayed, etc.
I've also used things like a beach ball/ kids ball or plastic trick-or-treat buckets as my base form.


Some are simply used pumpkins purchased from thrift stores & repainted. Repainting store bought pumpkins is a great way to make them more realistic and make them your own. You would be amazing at what a few different shades of orange paint on and then dry brushed with brown and yellow or cream can do.

The point here is don't limit your options & processes. Heck if you repainting a thrift store find, your keeping stuff out of the landfill...thank you!
Think outside of the box!
Whatever you create is good, believe in yourself. If you're making something for Halloween, you're doing more than most people.
What is really important is that you create & learn & have fun doing it. Laugh at what you do, even when you are alone working on it or thinking it through( or in my case laugh maniacally!!!). I admit I wake up sometimes with an idea in the middle of the night & many times laugh. I love the AHA part of the process.
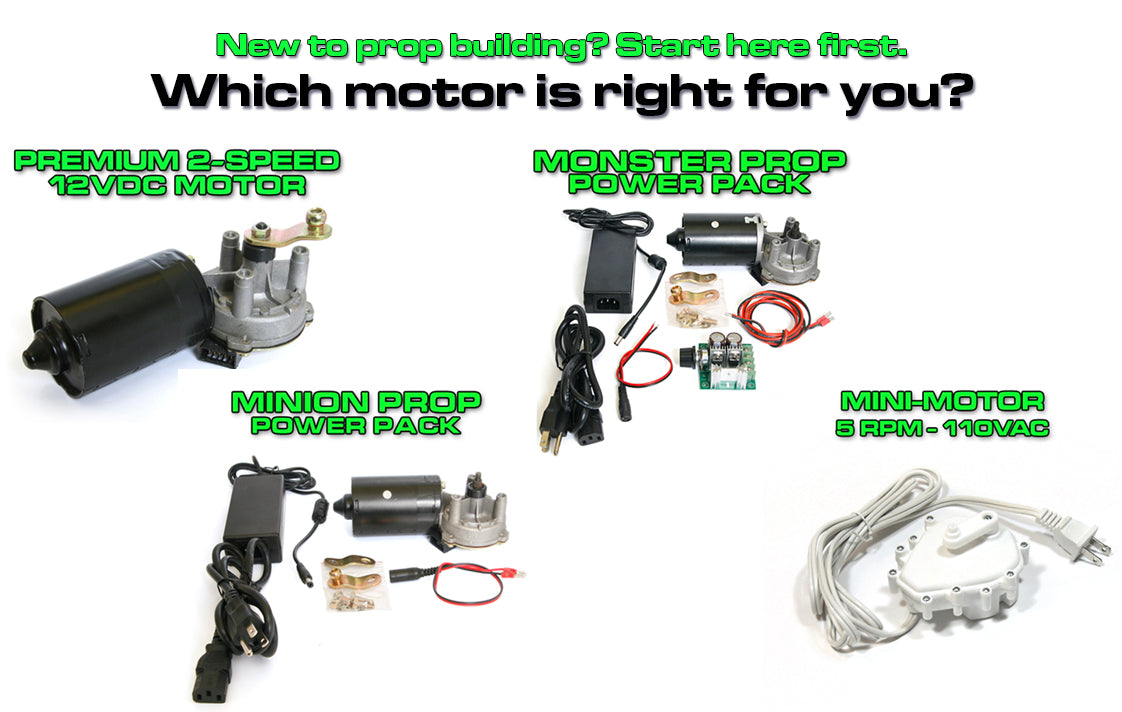
If you are really lucky you have someone to brainstorm with or better yet you get the younger generation involved. Don't hesitate to share with strangers ( like at the hardware store) what you're doing. I get so excited about my projects, I have to share them. I think I have the basic build down, I've only been making props since 2005, and I think it's time to take it up a notch with motion. I guess I am at the right place!
Let your imagination & inspiration run free!
Previous article