Mini Motor Rig Tutorial
Hi Everyone,
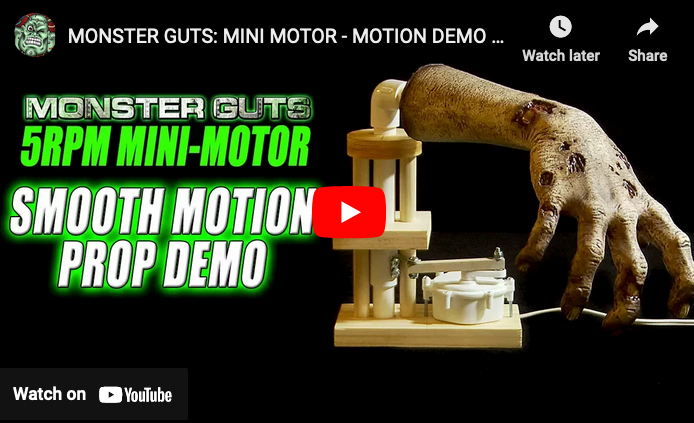
Here are the basics on how to build a rig to get the movement shown in this video for our Mini Motor. It's an easy concept that you can change to your needs and specs.
The size and configuration are up to you to fit your project. This was made to fit in the neck of a mannequin we had. Your pieces of wood can be round, square, etc.
2 - pieces of 1/2" PVC - 1 piece is 2 1/2" long and the other is 6" long
1 - straight PVC coupler
1 - right angle PVC coupler (if you want a right angle joint at the top)
3 - dowels 5/8" x 8"
wood to create platforms
motor extension arm made of wood 1/4"x 1/4" x 3 5/8" long
1 - 1 1/2" metal L bracket
2 - machine screws
3 - wood screws or drywall screws (you can use more if you choose not to use glue)
3 - washers (to be used as spacers for the linkage arm)
2 - lock nuts (regular nuts will unscrew)
Stack your three pieces of wood and clamp them down. Mark your center points for the PVC and dowels. Drill through all three layers. This will keep them all lined up nice when you insert the pipe and dowels. Try not to go through the bottom layer all the way for the PVC hole. You want it to sit in the hole which will help to keep the rig from shifting.

Here you can see how the two pieces of pvc fit with the coupler. This was done so you can remove the longer pvc part if you want to disassemble your prop, make changes, etc. You could use just one long piece if you want.
Glue the dowels in place on each layer (or use wood screws or drywall screws screwed in from the sides) and secure the bottom layer from underneath with wood screws or drywall screws.
You shouldn't use any glue on the bottom layer if you ever want to be able to dismantle or take apart the whole rig.


Use the PVC slip coupler to join both pieces of PVC.
DO NOT cement them together in case you have to make a change later.
The coupler is thicker than the hole in the wood platform above it so the whole PVC assembly will not accidentally slide up because the couple will stop it, and because you didn't drill all the way through the bottom layer, everything will stay in place (no substantial vertical movement).
Use a small L bracket you can find at just about any Lowe or Home Depot, and attach the L bracket with screws to the PVC coupler.
The L brackets come with holes already drilled through them for attaching them, but you might have to make the hole you will attach your arm linkage to a little bigger depending on the screws you use.

Drill holes on either end of the extension arm. The hole should be slightly larger than the bolt as you want it to loosely turn when the motor moves. You will need to Dremel/sand that bump off the motor arm and then drill a hole through that spot to attach to the extension arm.
Test your motor movement at this point. You want to make sure it is moving easily and not hitting the support rig at this point. If all is good and no adjustments need to be made, attach your motor to the platform. If you need help with the mounting, we have a mounting template for the motor HERE.


Previous article

Next article