Batty Pumpkin Tutorial

Hey Everyone!
I thought I would share a little flying bat pumpkin I made.
What you will need:
1 - Foam pumpkin decorated/painted.
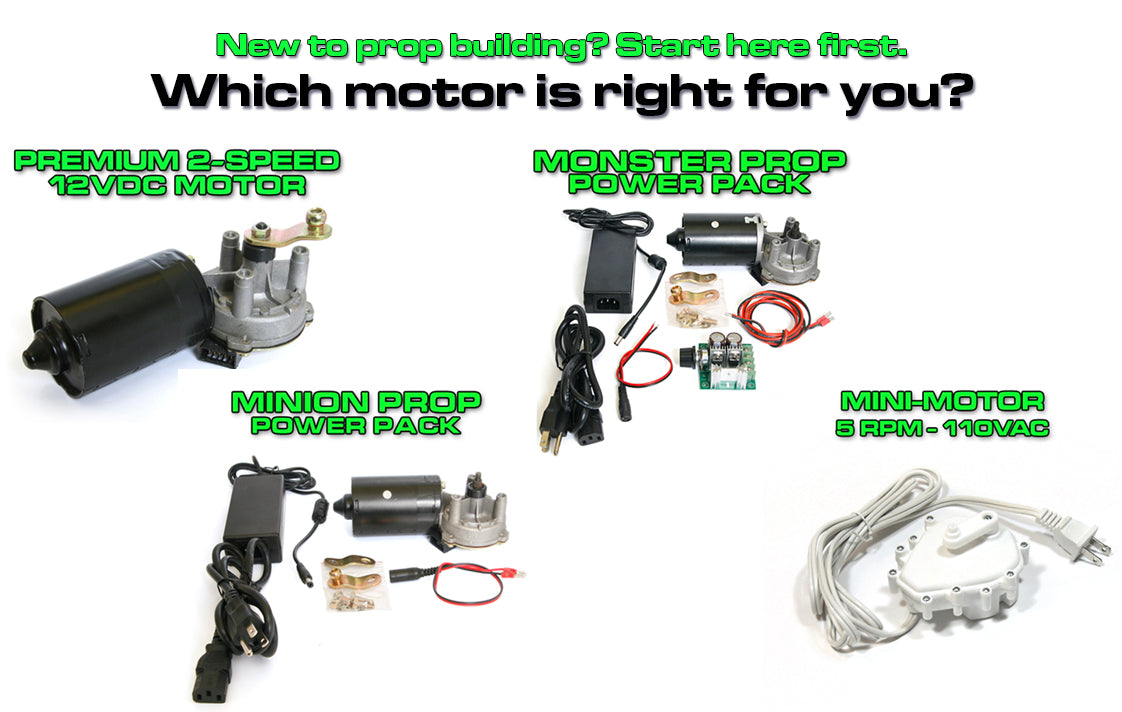
1 - MonsterGuts.com Mini Motor - arm removed
1 - M4 screw
1 - 3/8” dia. wood dowel
1 - Flat head screw
Fine gauge wire
Black Paper bats
Pumpkin Vinyl Decal or pumpkin design of your choice - cutting file for "Trick orTreat" from silhouettedesignstore.com
Instructions:
- Cut a hole in the bottom of the foam pumpkin large enough to insert the Mini Motor and your hand.
- Drill a hole through the stem that the dowel can easily move through - don’t make it tight, you want a semi-loose fit.
- Measure the dowel by putting the Mini Motor inside the pumpkin and then inserting the dowel through the stem and touch the motor with it - you will want to have the dowel stick out past the stem about 1”. Measure and cut the dowel.
- On one end of the dowel, partially screw in a flat head screw - you will twist your bat wires around this and then tighten down to hold them in place.
- On the other end of the dowel, screw in a M4 screw that fits the motor, cut off the screw head. You should now be able to screw the dowel into the motor.
- Place the Mini Motor in the pumpkin. Insert the dowel through the stem. Now, screw the dowel into the Mini Motor. You are doing this blind but it’s pretty simple.
- Cut your bats from black cardstock paper using a Cameo or Circut...or hand-cut.
- Cut different lengths of wire and make little loops or balls on one end to help the glue have something to grab on to.
- Glue the wires to the bats. Bend the bat wings slightly to give them some movement.
- Twist the wires to the screw on top of the dowel and tighten down slightly to help hold in place.
- Plug in and you now have flying bats!!


